How to Measure Cabinets for DIY Pull-Out Shelves | Shelf King
August 20, 2026
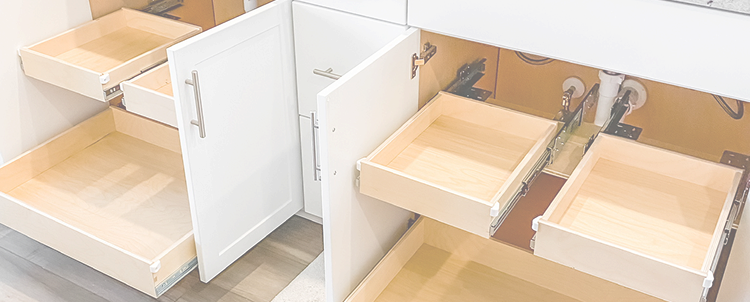
How to Measure Your Cabinets for The Shelf King DIY Pull-Out Shelves Install Kit
Thinking about upgrading your cabinets with The Shelf King™ DIY Pull-Out Shelves Install Kit? Before you place your order, there is one important step that can make all the difference: taking accurate cabinet measurements.
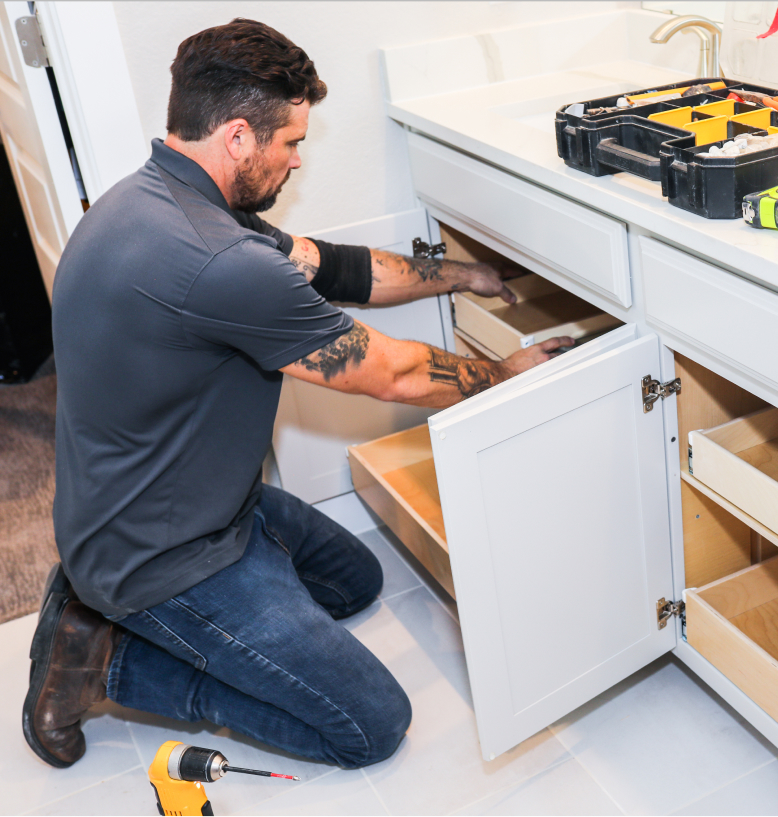
Fortunately, measuring for your custom slide-out shelves is easier than it may seem. With a tape measure, your Shelf King Measurements Log, and a few minutes at each cabinet, you can gather the dimensions needed to order shelves that fit your space properly.
Below, we’ll walk you through how to measure your cabinets for DIY pull-out shelves, what to look for before you start, and a few common mistakes to avoid.
What You’ll Need Before Measuring
You do not need many tools to measure your cabinets. In fact, The Shelf King measuring guide recommends starting with:
A measuring tape
Your Measurements Log sheet
A flashlight, if needed
Before you begin, you also do not necessarily need to completely empty every cabinet. However, moving a few items out of the way can make it easier to see the cabinet walls, hinges, plumbing, and other possible obstructions.
You can find the measuring tutorial, downloadable measurement instructions, and Measurements Log on our How To page.
First, Decide Where Your Pull-Out Shelves Will Be Mounted
Before measuring width or depth, take a look at how the shelf will sit inside the cabinet.
The Shelf King DIY slide-out shelves are bottom mounted, which means the hardware needs a solid surface underneath it. If you are installing the pull-out shelf on the bottom of your cabinet, it can mount directly to the cabinet base.
However, if you want to add a pull-out shelf higher inside the cabinet, you will need an existing shelf or another suitable mounting surface underneath it. If your cabinet has a partial or “half shelf,” additional preparation may also be required before installation.
Planning the shelf location before measuring helps ensure that you are measuring the exact space where the finished pull-out shelf will operate.
You Need Two Measurements for Each Pull-Out Shelf
For each DIY pull-out shelf you plan to order, you will need two main measurements:
Width and depth.
Although the process is straightforward, both measurements need to account for the cabinet opening, hinges, rails, and any other obstacles that may affect how the shelf slides in and out.
Let’s start with width.
Step 1: Measure the Cabinet Width
Measure the narrowest usable point of the cabinet opening.
This is an important distinction because the inside wall-to-wall dimension may be wider than the actual opening through which your pull-out shelf needs to travel.
For example, cabinet hinges may extend into the opening. Since the finished shelf must be able to slide past those hinges, your measurement needs to reflect the clear space between them, not simply the total interior width of the cabinet.
Always Check for Hinges and Other Obstructions
Before recording your width, look carefully at both sides of the cabinet.
Potential obstructions may include:
Cabinet hinges
Door hardware
Water or gas lines
Valves
Electrical conduit
Interior trim or framing
Essentially, you are looking for the narrowest point your shelf will need to pass through.
Once you find that point, take your measurement there.
Step 2: Subtract 1 1/4 Inches From Your Width
This is one of the most important parts of measuring for your Shelf King DIY kit.
After determining the usable cabinet width, subtract 1 1/4 inches from that measurement. This deduction provides the space required for the slide-out shelf railings.
For example:
If your usable cabinet opening measures 30 inches wide, you would submit a shelf width of:
30″ – 1 1/4″ = 28 3/4″
Therefore, 28 3/4 inches would be the width entered for your order.
Do not skip this step. Ordering the full cabinet-opening width would leave insufficient room for the rail system.
Step 3: Measure to the Nearest 1/8 Inch
Accuracy matters when ordering a custom-sized pull-out shelf.
For the best fit, The Shelf King recommends measuring down to the nearest 1/8 inch.
For instance, if your measurement falls between two 1/8-inch marks, use the lower measurement rather than rounding up.
Taking your time here can help prevent a shelf from being too wide for the available cabinet opening.
Step 4: Measure the Cabinet Depth
Next, measure how much usable depth you have inside the cabinet.
Start at the back of the cabinet wall, or at the front of any obstruction that limits how far the shelf can extend backward. From there, measure forward to the back of the cabinet’s front lip or face frame.
Again, you want to measure the space the pull-out shelf can actually occupy rather than simply assuming the entire cabinet depth is usable.
Watch for Obstacles in the Back of the Cabinet
Before recording the measurement, check for anything that reduces the usable depth.
Depending on the cabinet, this could include plumbing, valves, pipes, electrical components, or other built-in obstacles.
If an obstruction sits in front of the back wall, measure from that obstruction instead of the cabinet wall.
Cabinets Without a Front Lip Require One Extra Step
Some cabinets do not have a front lip or face-frame edge.
If your cabinet does not have a front lip, The Shelf King measuring instructions say to decrease the depth measurement by 1/2 inch.
That additional clearance helps ensure the shelf and hardware fit correctly within the cabinet.
Write Down Every Measurement as You Go
If you are installing several pull-out shelves, it can become surprisingly easy to forget which measurement belongs to which cabinet.
That is why we recommend using The Shelf King Measurements Log as you work through your kitchen, pantry, bathroom, or other storage area.
For each shelf, record:
Cabinet location
Final shelf width
Depth
Quantity
Keeping those measurements organized is helpful when you place your order, and it is also useful later when your DIY kits arrive and you are ready to install them.
You can download the Measurements Log and Cabinet Measurement Instructions directly from our How To page.
A Quick DIY Cabinet Measuring Checklist
Before submitting your order, double-check the following:
You measured the narrowest usable width, not simply the inside cabinet walls.
You checked that your shelves will clear the cabinet hinges.
You looked for pipes, valves, gas lines, electrical components, or other obstructions.
You subtracted 1 1/4 inches from the usable width for the railings.
You measured to the nearest 1/8 inch.
You measured the usable cabinet depth from back to front.
You reduced the depth by 1/2 inch if your cabinet does not have a front lip.
You recorded every measurement and cabinet location on your Measurements Log.
Taking a few extra minutes to verify these details before ordering can save a lot of frustration later.
What Happens After You Measure?
Once you have finished measuring your cabinets, you are ready to choose your Shelf King DIY pull-out shelves.
Our online store currently offers Small, Medium, and Large slide-out shelf options, allowing you to select the appropriate product based on your cabinet measurements.
Each DIY slide-out shelf kit is packaged individually and includes the slide-out shelf, two steel railings, two bumpers, and the screws needed for assembly and installation.
You can browse the available options on our Shop Shelf King collection.
Don’t Forget to Watch the Installation Tutorial
Measuring is only the first part of the DIY process.
Once your Shelf King kit arrives, head back to our How To page, where you can find:
Cabinet Measuring Instructions
Box Assembly Instructions
Installation Instructions
DIY Install Instructions
Cabinet Measurement Instructions
The Measurements Log
Following each step in order can help make your DIY installation much smoother.
Measure Carefully, Then Let Your Cabinets Work Smarter
Custom pull-out shelves can make a major difference in how you use your cabinets. Instead of bending, reaching, and searching for items hidden in the back, a pull-out shelf brings your cabinet contents forward where they are much easier to see and reach.
However, a great DIY installation starts with a great measurement.
Measure the narrowest opening, account for hinges and obstructions, subtract the required 1 1/4 inches for your railings, and double-check your numbers before placing your order.
Once your measurements are ready, you’re one step closer to cabinets that are easier to organize, access, and enjoy every day.